Showing posts with label DIY. Show all posts

Monday, August 13, 2012

Four Seashell DIYs: Wind Chimes


For my third shell DIY I decided to make a simple wind chime that can be hung both inside or outdoors! 

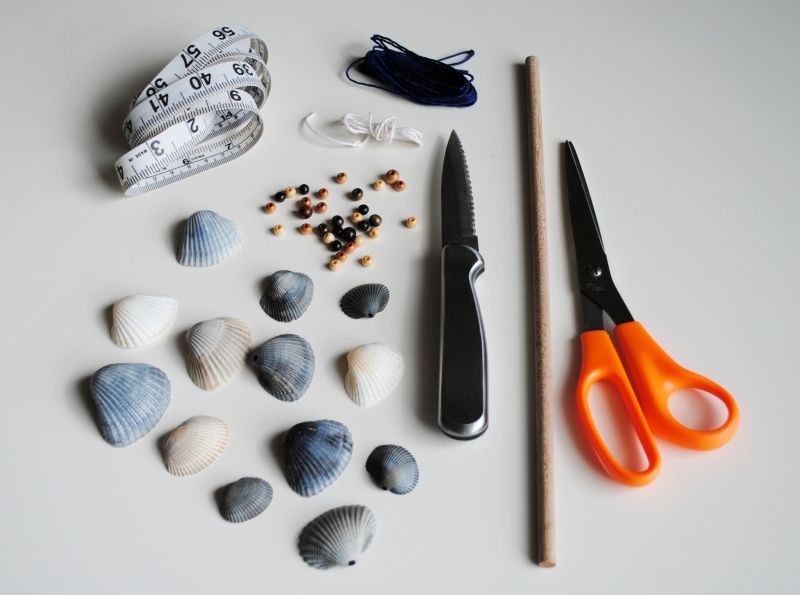
For your supplies you'll need:
- Measuring tape (or a ruler)
- Natural or colored hemp cord
- Wooden beads
- Shells with holes in them
- A knife (or a small saw)
- 12" dremel (or a stick of about the same size for a more organic look)
- Scissors
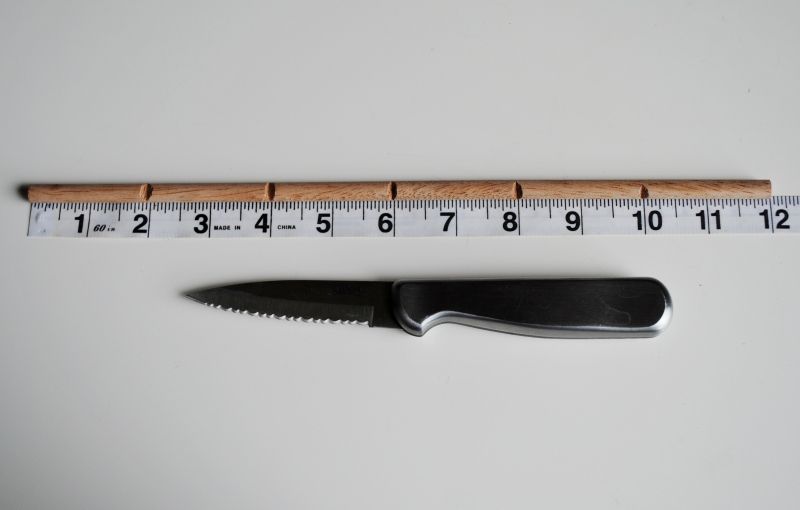

Begin by cutting wedges into your dremel in the spots where you plan to hang your shells. Don't forget to make a wedge in the very center for the cord that the chime will hang from. I arranged my wedges equidistant from each other to make the chime slightly more balanced, but even with your strands the same distance from each other, your chime will probably tilt, and that just adds to its charm!
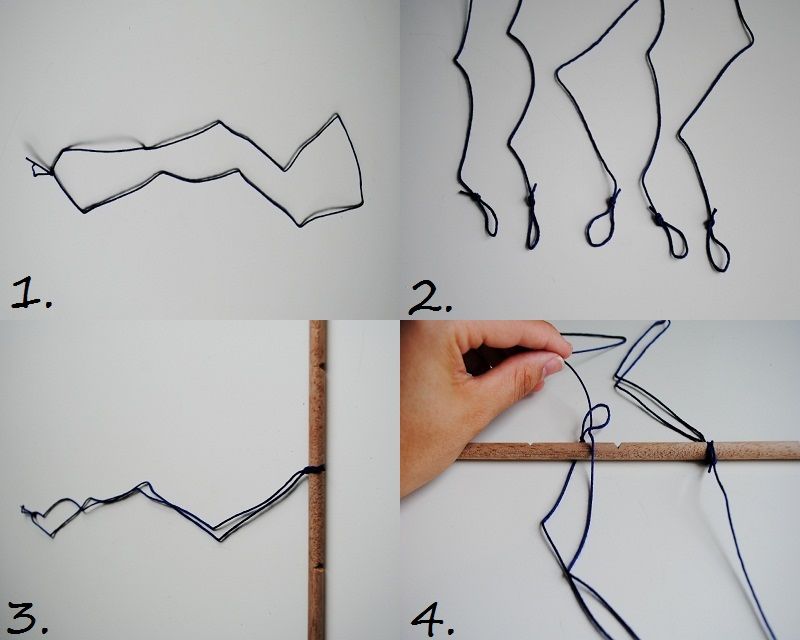

I decided to make my wind chime with five strands of shells, so I needed six pieces of cord, each approximately 1.5' long. One of the pieces will be used to hang the chime. (1) Tie the ends of one strand together using an overhand knot, then set it aside. Take your other five strands and (2) tie small loops at one end of each using an overhand knot. To attach the string that will hang the chime, (3) pass the knotted end through the loop you created when tying the ends together, and pull tight with the dremel inside. Pull the cord snugly into the center wedge. Use the same technique with your hanging strands (4) passing the straight end through the looped end and pulling it tight with your dremel inside. Arrange each strand over a wedge and make sure it is snugly secured.
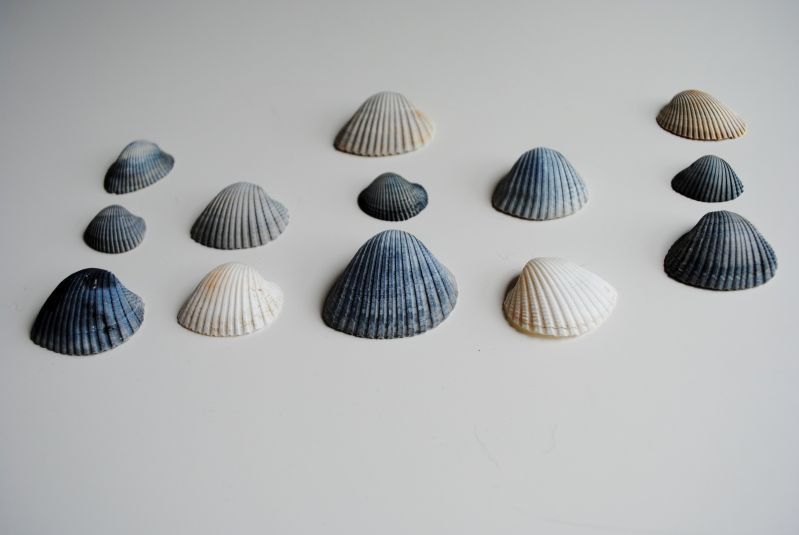

I lined my shells up before hanging them to get an idea of how I wanted to arrange them, but it's up to you whether you want to do it this way or just string them at random.
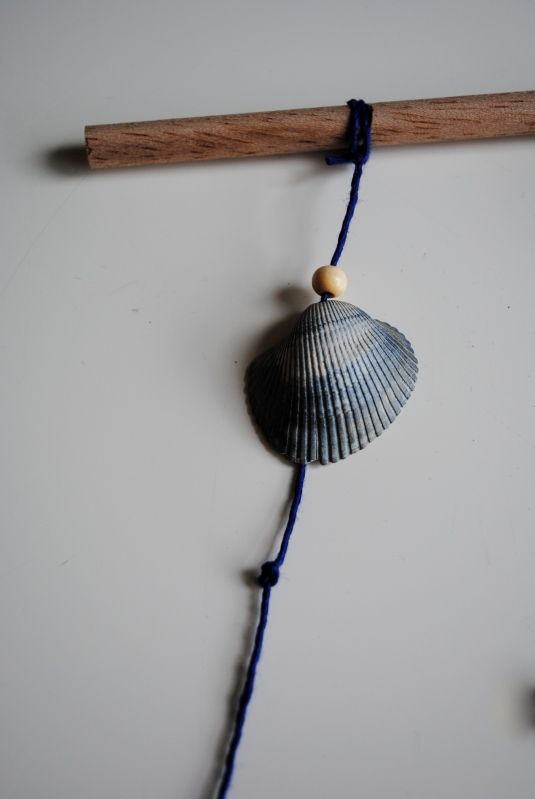

To string your shells onto the cord, first string on a wooden bead, then string the shell on. After your shell is on, tie a knot in the spot where you want it to hang. If the hole in the shell is too large for a knot, you can string another bead on after the shell and then tie a knot under that.
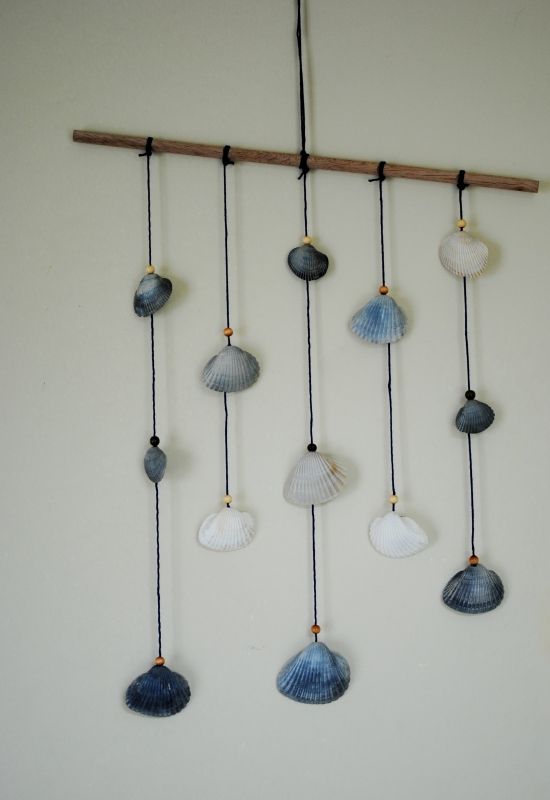

Once all of your shells are strung, hang your wind chime and enjoy! I hung mine inside since the new place is still in need of some decorating.

xo, Kellie

Tuesday, August 7, 2012

Four Seashell DIYs: Centerpieces


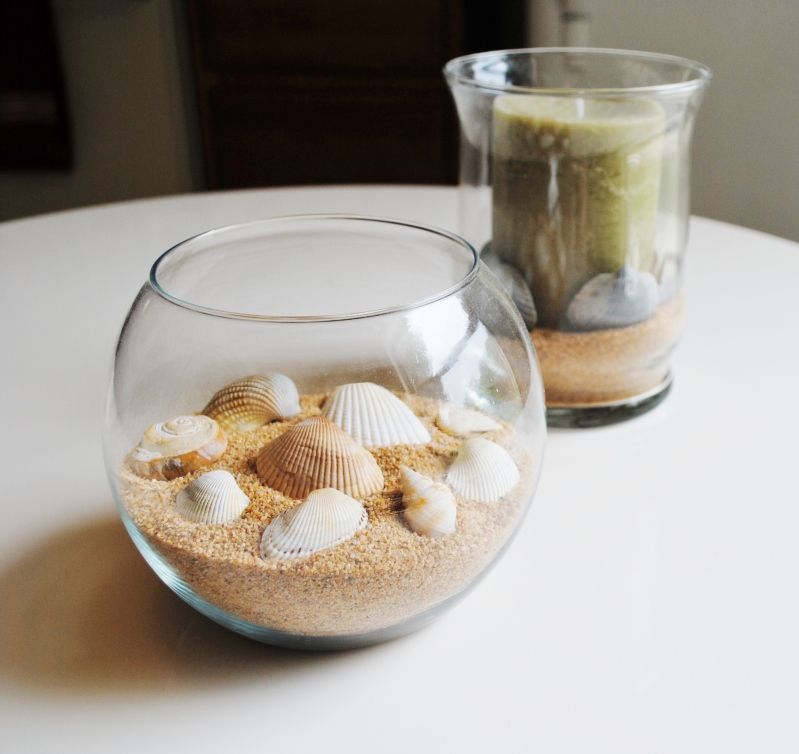
My second seashell DIY is probably the easiest one in the bunch! Today I'm showing you how to add some summer flair to your home with seashell centerpieces.


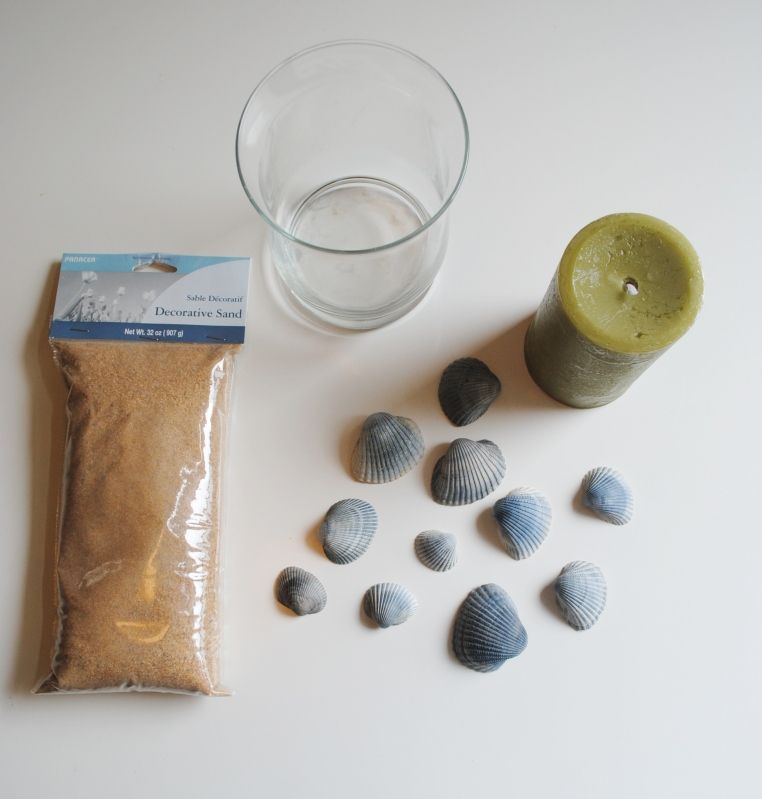
Supplies needed:
- Sand (packaged or collected from the beach)
- Vase
- Pillar candle
- Seashells


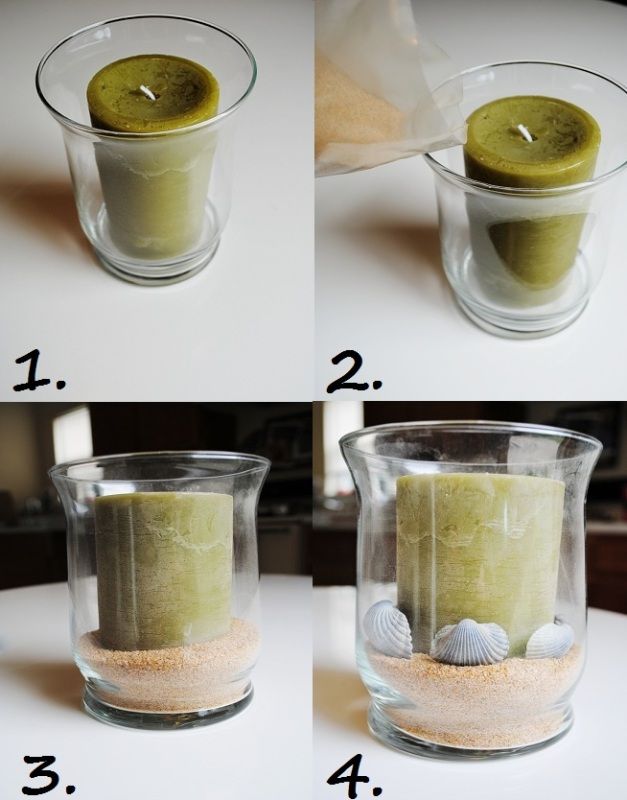
Try to stay with me, here, because this is tricky. First, (1) place the pillar candle inside of the vase. Then (2-3) pour your sand around the candle until it's at the level you want it. You may need to gently shake the vase around to get the sand even all around. Lastly, (4) place the seashells around the pillar candle. I used a metal kabob skewer to make sure my shells were right where I wanted them since they fit very snugly between the candle and the edges of the vase.


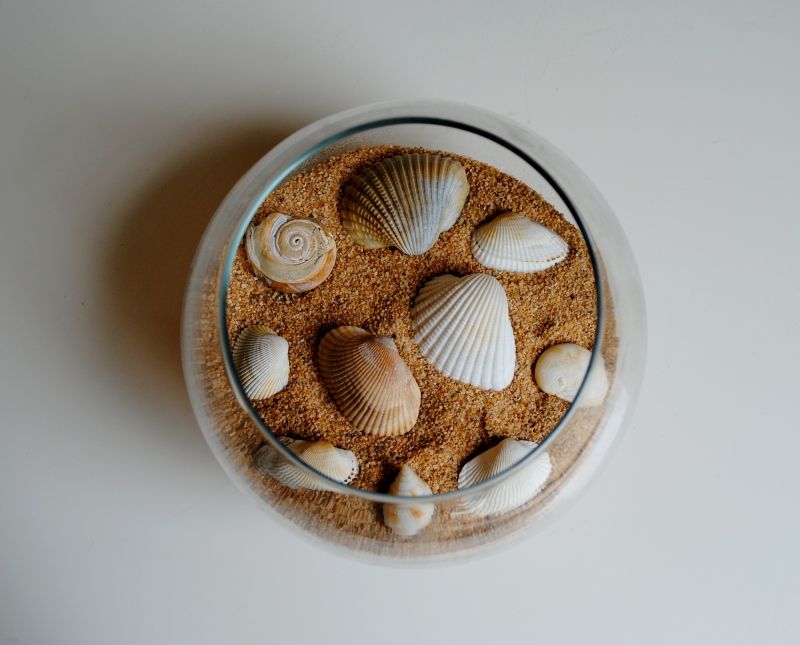
You can also make a similar centerpiece without the candle, how cool do those shells look inside of a small fishbowl?

Happy decorating!

xo, Kellie

Sunday, August 5, 2012

Four Seashell DIYs: Y-Necklace


With summer coming to an end, I'm sure I'm not the only one who has spent time at the beach and accumulated a bit of a seashell collection. As a beach-town resident, seashell craft inspiration is in large supply, so I am bringing you four ideas for your shell collection. First up, a seashell y-necklace!


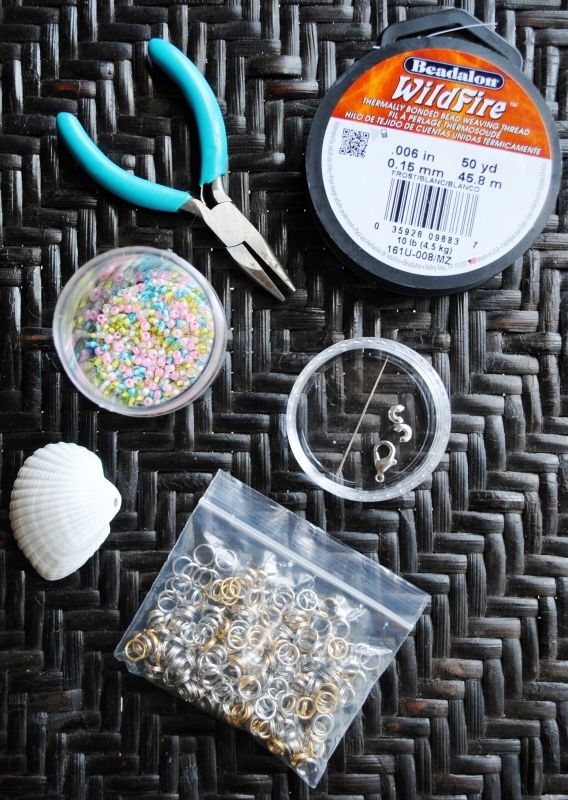
Supplies needed:
- A dry, clean seashell with a naturally-occurring hole
- Seed beads in your choice of colors
- Small craft pliers
- Beading thread (I prefer this product)
- Small sewing needle
- Lobster claw clasp
- Two crimp bead covers
- 13 split rings (they're like tiny key rings)
- Scissors (not pictured)


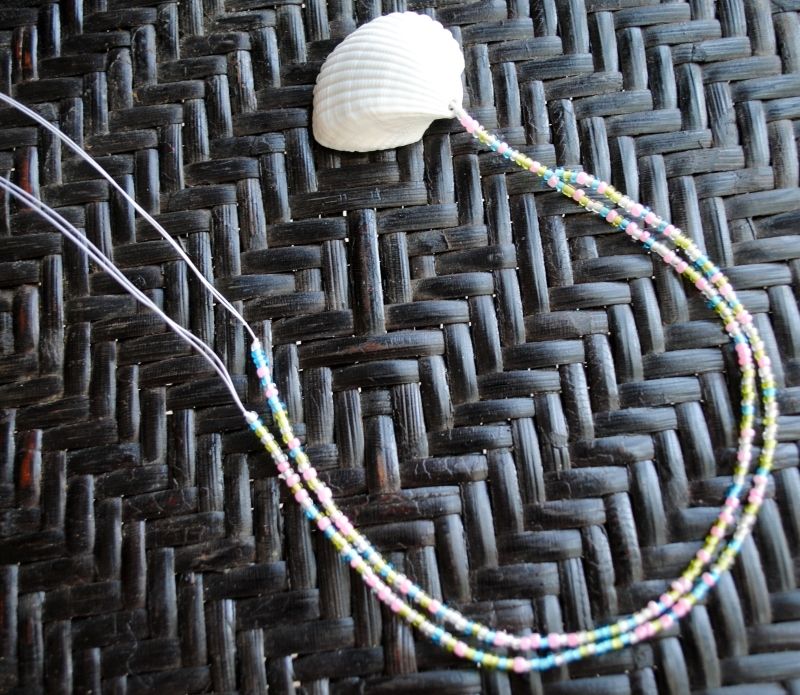
Cut two 3.5' long pieces of string, line them up with one another and fold them in half, grabbing the two pieces at the center. Form a loop at the spot you're pinching, and (1) slip the loop through the top of the shell, with the underside facing up. Bring the loop all the way over the shell (2) and pull it up over the topside of the shell. Once the loop is all the way over the shell, (3) pull it tight by gently tugging on the strands sticking out of the top of the shell, and then tie a knot just above the shell to keep the strings in place. To form the base of your "y," (4) string beads over all four strands until the base is the length that you want it.


Split the four strings into two sets of strings. Thread one of your sets through a needle, and string the beads on until the necklace is the length you want it. Do the same with the other set of strings.


Tie knots at the ends of each of your sets of strings to prevent any beads from slipping off.


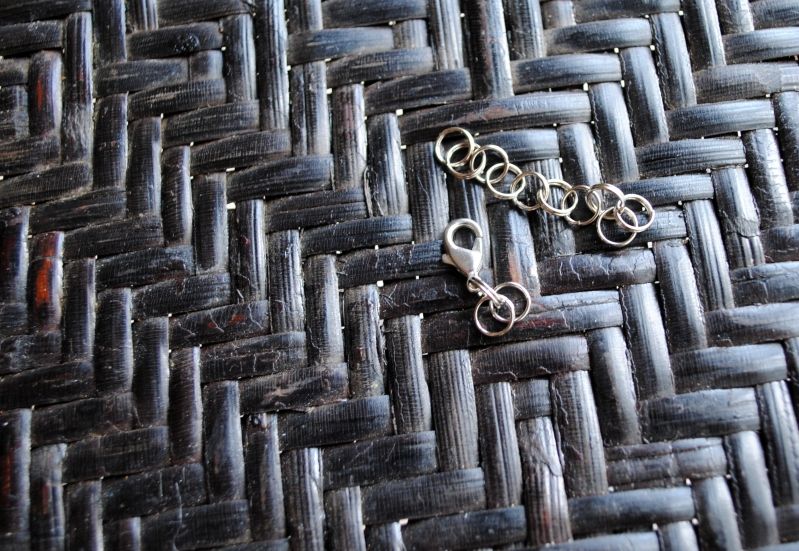
Next you need to build your necklace closures. You can buy jump rings and attach them to a chain cut to the length you need to form an adjustable necklace closure, but jump rings have a reputation for splitting apart with the slightest pressure, and creating durable jewelry is high priority for me. Instead I used a needle to open the split rings and attach them to one another. I put two rings on the necklace ends of both sides of the closure to make the string they are tied to less likely to slip through the rings. If you look above, I have the lobster clasp attached to one ring, and then two rings through that single ring. Then with the adjustable side of the closure I have eight single rings attached to each other, then two rings attached to the final single ring.


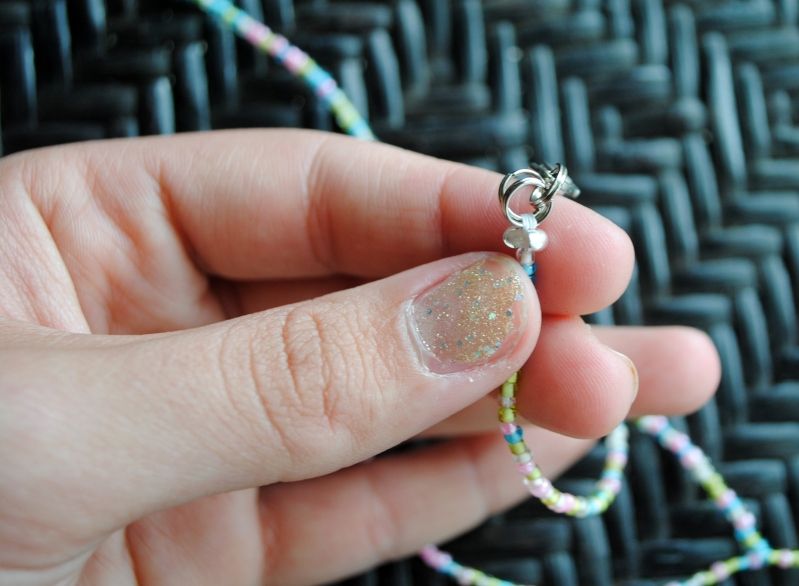
Next, tie the ends of your necklace through the double rings on each part of your necklace closure. I always loop the strings through the rings at least twice, just as extra insurance that the necklace won't come apart. Once your knots are tied, pull them tight and gently tug on your necklace to make sure your knots are secure. Once you have assured that your knots are secure, trim the excess string, but be careful not to cut all the way down to your knot. It's okay to have a tiny bit of excess, because you are going to cover that with a crimp bead cover (pictured above). Place the crimp bead cover over your knot, making sure the string is up against the very back of the opening in the crimp bead.


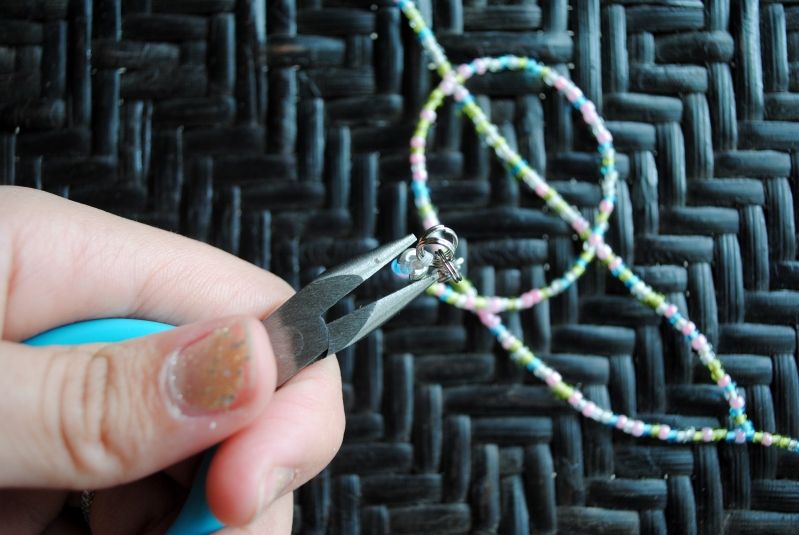
Making sure your crimp bead remains in place over the strings, use your pliers to gently close the bead over the knot. (Oh, and for those of you, who, like me, sometimes like to use your teeth for jobs like this one, DON'T! I chipped a tooth last month, my dentist was delighted!)


Once your crimp bead covers are in place, your necklace is complete! Enjoy!

xo, Kellie

Thursday, August 2, 2012

DIY: Wine Corks Board


Since I am much better at being crafty than I am at wearing clothes, I thought it was about time I introduced DIY projects to Elephants and Owls! First up is a wine cork-board project that I started almost a year ago. This project is a great way to add a unique accent to your home and upcycle corks that would have otherwise been thrown away!


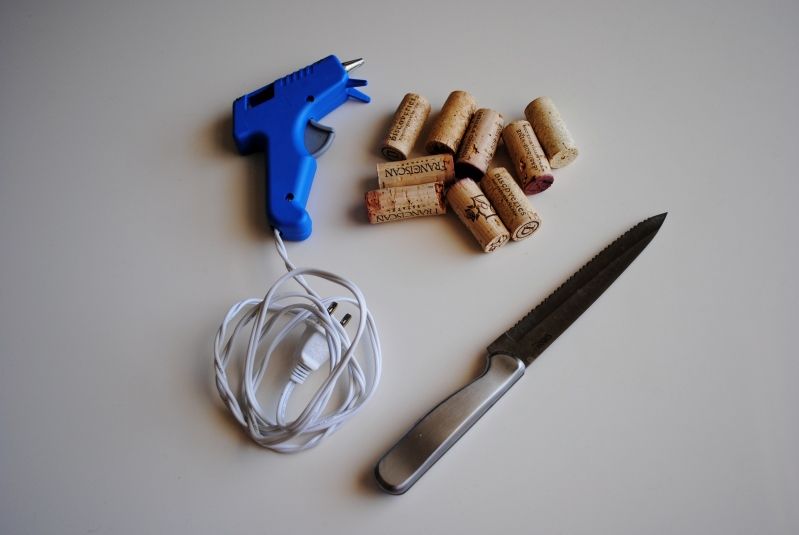
Supplies needed: 
- Hot glue gun
- Wine corks (real, not synthetic)
- Knife (or an Exacto knife)
- Picture frame with the glass removed (not pictured)
- Cutting board (not pictured)


Start by cutting all of your corks in half, longways. If you have some jagged bits along the cut edge of your cork, you can just carefully shave them off to flatten the edge.


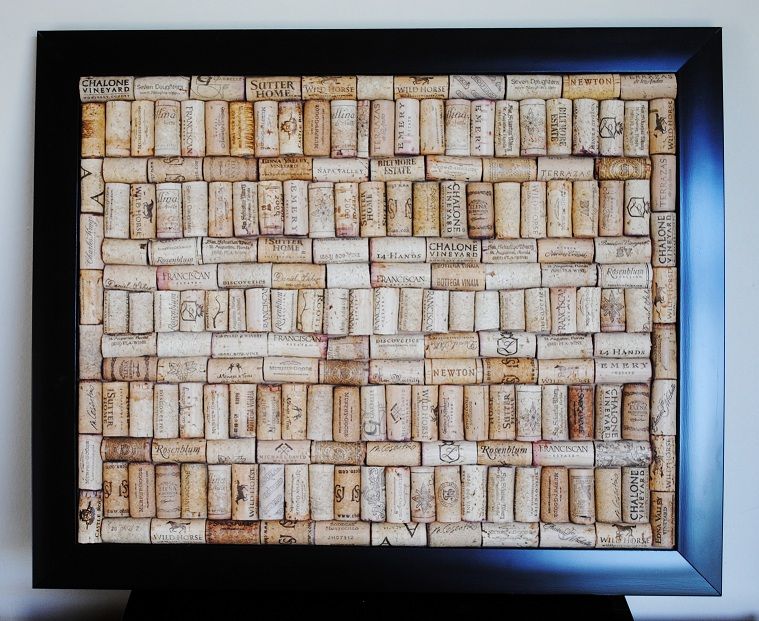
Once you have cut all of your corks, line them up in your picture frame. If you have some spots that won't fit an entire cork, trim them down to fit. My board ended up having an entire row of corks that had been trimmed down. Once you have your corks lined up the way you want them, hot glue them into place and let everything dry overnight.


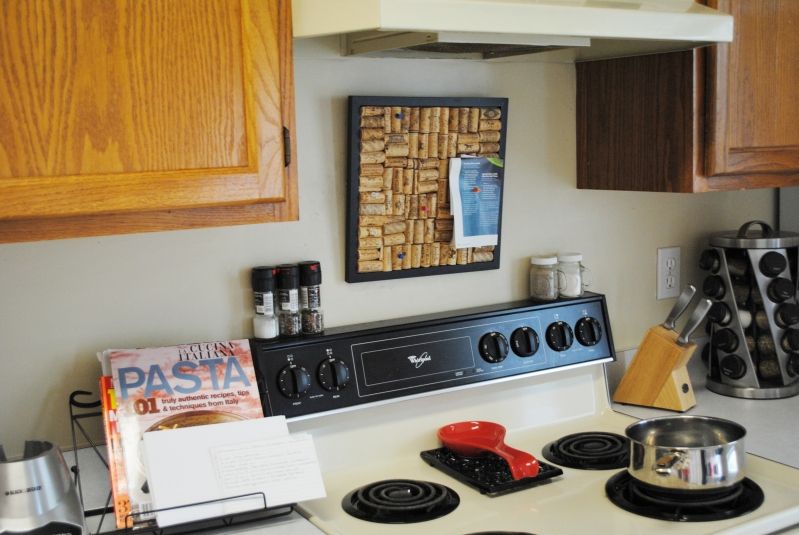
Once your glue has dried, hang your board and enjoy! I have a smaller one hanging in the kitchen for recipes that I want to try, and I just hung the big one in my office to post jewelry inspiration. The hardest thing about this project was probably drinking enough wine to get all of the corks I needed!

xo, Kellie