


With summer coming to an end, I'm sure I'm not the only one who has spent time at the beach and accumulated a bit of a seashell collection. As a beach-town resident, seashell craft inspiration is in large supply, so I am bringing you four ideas for your shell collection. First up, a seashell y-necklace!
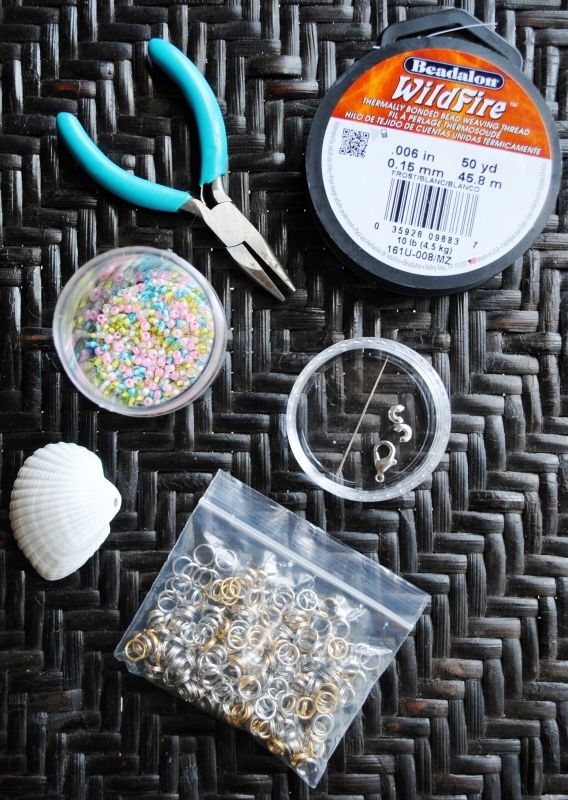
Supplies needed:
- A dry, clean seashell with a naturally-occurring hole
- Seed beads in your choice of colors
- Small craft pliers
- Beading thread (I prefer this product)
- Small sewing needle
- Lobster claw clasp
- Two crimp bead covers
- 13 split rings (they're like tiny key rings)
- Scissors (not pictured)

Cut two 3.5' long pieces of string, line them up with one another and fold them in half, grabbing the two pieces at the center. Form a loop at the spot you're pinching, and (1) slip the loop through the top of the shell, with the underside facing up. Bring the loop all the way over the shell (2) and pull it up over the topside of the shell. Once the loop is all the way over the shell, (3) pull it tight by gently tugging on the strands sticking out of the top of the shell, and then tie a knot just above the shell to keep the strings in place. To form the base of your "y," (4) string beads over all four strands until the base is the length that you want it.

Split the four strings into two sets of strings. Thread one of your sets through a needle, and string the beads on until the necklace is the length you want it. Do the same with the other set of strings.
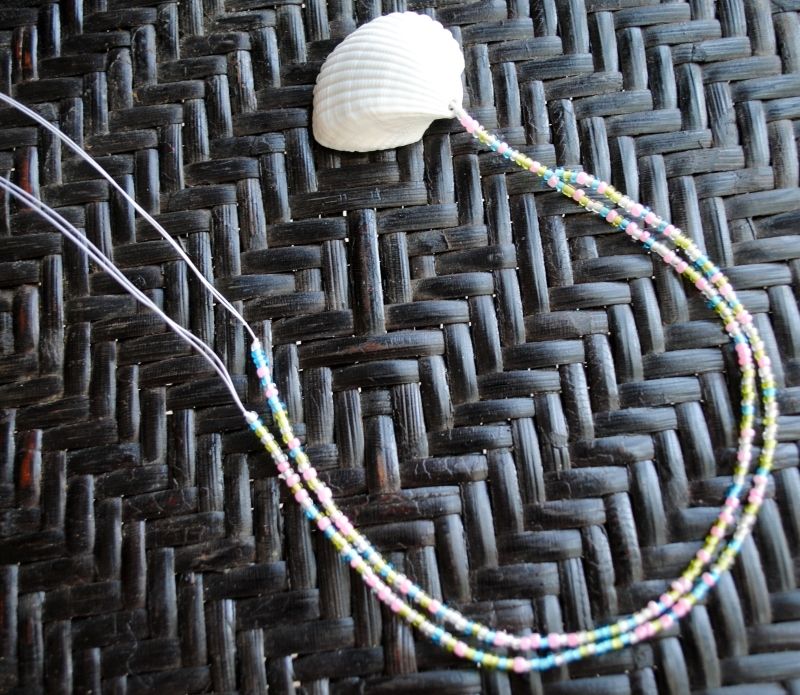
Tie knots at the ends of each of your sets of strings to prevent any beads from slipping off.
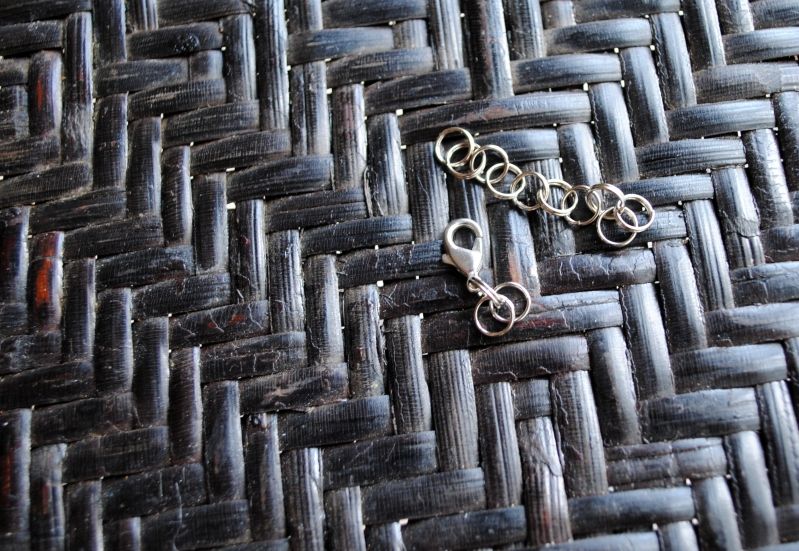
Next you need to build your necklace closures. You can buy jump rings and attach them to a chain cut to the length you need to form an adjustable necklace closure, but jump rings have a reputation for splitting apart with the slightest pressure, and creating durable jewelry is high priority for me. Instead I used a needle to open the split rings and attach them to one another. I put two rings on the necklace ends of both sides of the closure to make the string they are tied to less likely to slip through the rings. If you look above, I have the lobster clasp attached to one ring, and then two rings through that single ring. Then with the adjustable side of the closure I have eight single rings attached to each other, then two rings attached to the final single ring.
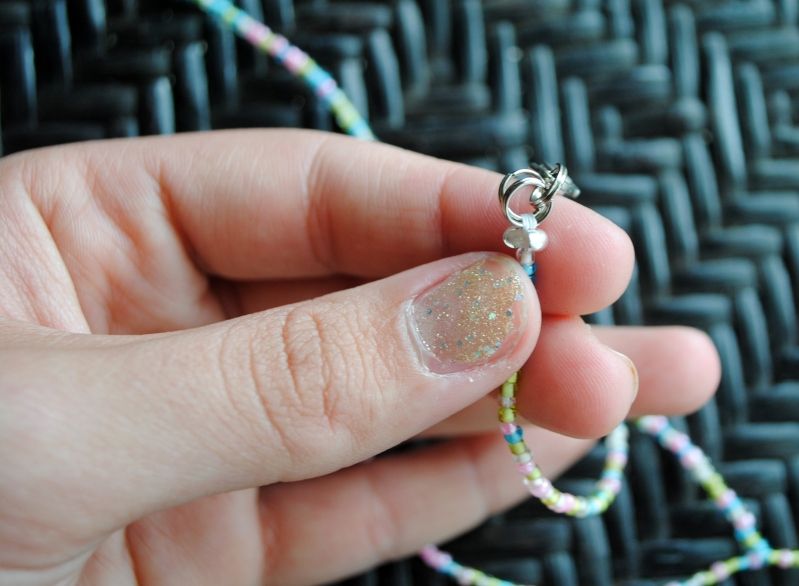
Next, tie the ends of your necklace through the double rings on each part of your necklace closure. I always loop the strings through the rings at least twice, just as extra insurance that the necklace won't come apart. Once your knots are tied, pull them tight and gently tug on your necklace to make sure your knots are secure. Once you have assured that your knots are secure, trim the excess string, but be careful not to cut all the way down to your knot. It's okay to have a tiny bit of excess, because you are going to cover that with a crimp bead cover (pictured above). Place the crimp bead cover over your knot, making sure the string is up against the very back of the opening in the crimp bead.
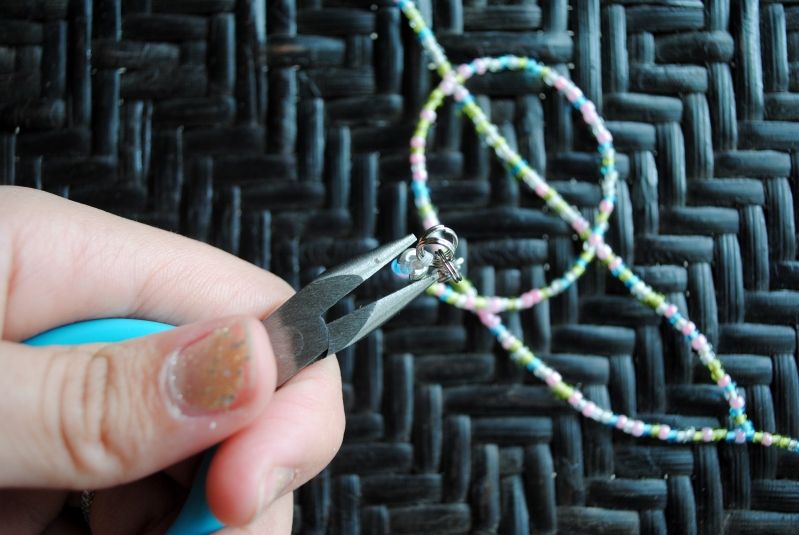
Making sure your crimp bead remains in place over the strings, use your pliers to gently close the bead over the knot. (Oh, and for those of you, who, like me, sometimes like to use your teeth for jobs like this one, DON'T! I chipped a tooth last month, my dentist was delighted!)

Once your crimp bead covers are in place, your necklace is complete! Enjoy!
xo, Kellie


No comments:
Post a Comment